
5 Handy Tips for Assembling Your Vuly Thunder 2 Trampoline
by Rob Hawkins
You’ve got the boxes in your garage, you’ve read the instruction manual, you’ve watched the Vuly videos with the calm music and the assembler who breezes through the process without breaking a sweat, and you’re thinking to yourself:
‘I got this!’
Having put together many, many Vuly trampolines over the last four years, including dozens of Thunder 2 and Thunder 2 Pro trampolines, I’m here to tell you a few things that are not clear in the manual or the videos.
This is not to discourage you from doing it yourself, but to give you a more realistic view of what’s actually required to tackle this project, and to give you some helpful bits of advice – things I’ve learned the hard way – that will make it possible!
Tip #1: Recruit a friend!
I’ve already mentioned in the intro that I’ve assembled quite a few of the Thunder 2 and Thunder 2 Pro tramps – it’s literally my job – and even I find it a hard knock to put one of these babies together alone!
Not to brag, but I’m 189cm (6’2”) tall; and (also not to brag) I’m able-bodied and stronger than the average IT professional. I have years of experience and knowledge. I also have special clamps and straps that I’ve accumulated over my time as a professional assembler to save my body from the stresses of this particular model.
And, again, it’s still a challenge to do these Thunders alone!
I don’t recommend it.
But when I have an assistant giving me a hand, it becomes much easier; like, less than half the effort, kind of a 1+1=3 situation!
So, if you can find someone you can work with, and vice versa, without ripping each other’s heads off, combining your powers will make it a lot quicker and easier to unbox the parts, keep things nice and neat, interpret the instructions and double-check that things are in the right place, and, most importantly, attach the leaf springs to the mat!
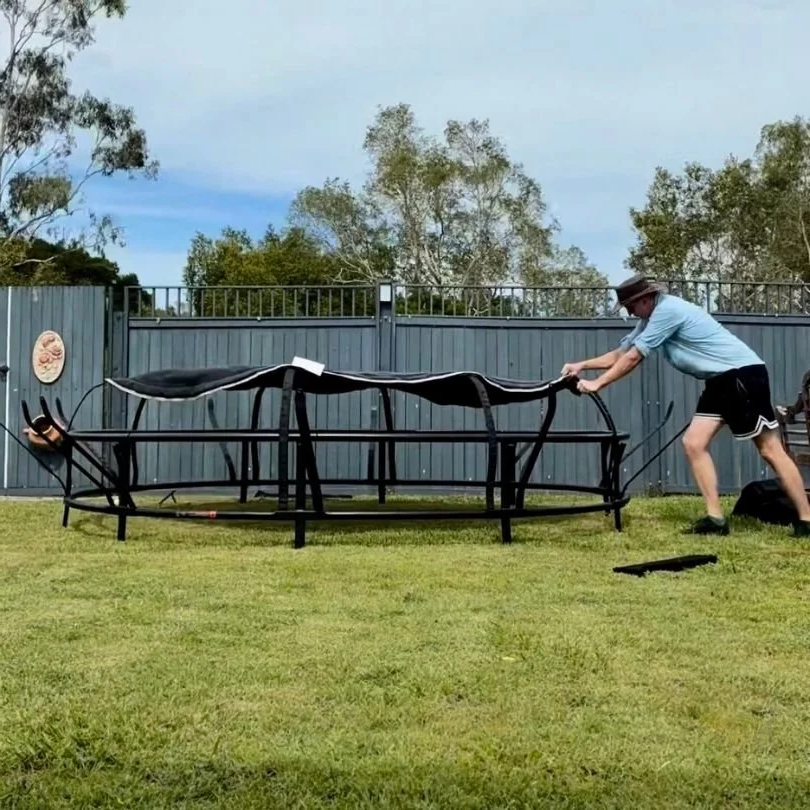
This part – attaching the springs – is where most people give up and call me to come and finish the job. With just one person, it’s an incredible feat of strength and resilience to both pull the mat to release tension and bend the spring far enough to attach it at the same time.
But with two people, you can bend the leaf spring with the special spring tool while your friend grips and pulls the mat towards you (while you both aim to get that damned leaf spring to hook directly onto the mat).
It’ll still be a challenge, but it will be possible!
Plus, it’s more fun to do this sort of thing with a friend anyway…
Tip #2: Keep organised
Did I mention I also specialise in process improvement?
I didn’t?
Well, back in the olden times, before I was a trampoline assembler, I worked as a process improvement manager in factories and offices alike. So, naturally, as I got into assembling trampolines in my own business, and my income was directly related to how many I could do in a day, I started to knock things off that would waste my time or make my job harder.
My biggest tip for streamlining this job is to keep organised!
It’s a rather unsexy tip, but it will help the assembly go smoother (more on that in Tip #5), get rid of the feeling that it’s an insurmountable task (which it can become), and make it more obvious which parts go where.
Practically, what you wanna do is this:
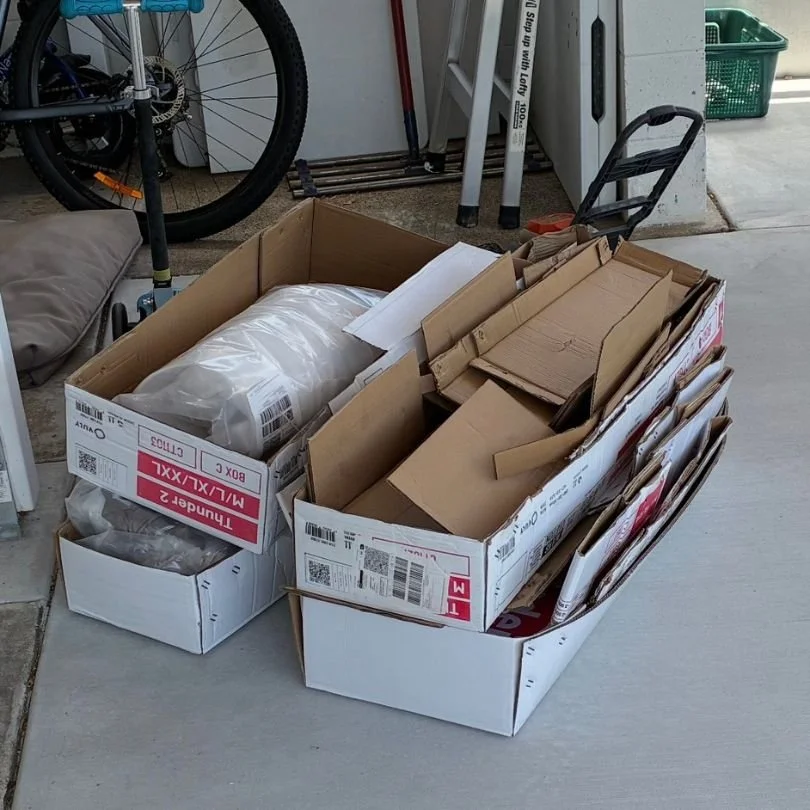
Unpack all the boxes, one-by-one, separating the plastic rubbish from the cardboard boxes.
Use one cardboard box to store all of the plastic waste (I roll each box’s plastic contents into the covering that went around the box), and one box to put the other cardboard into (see pic).
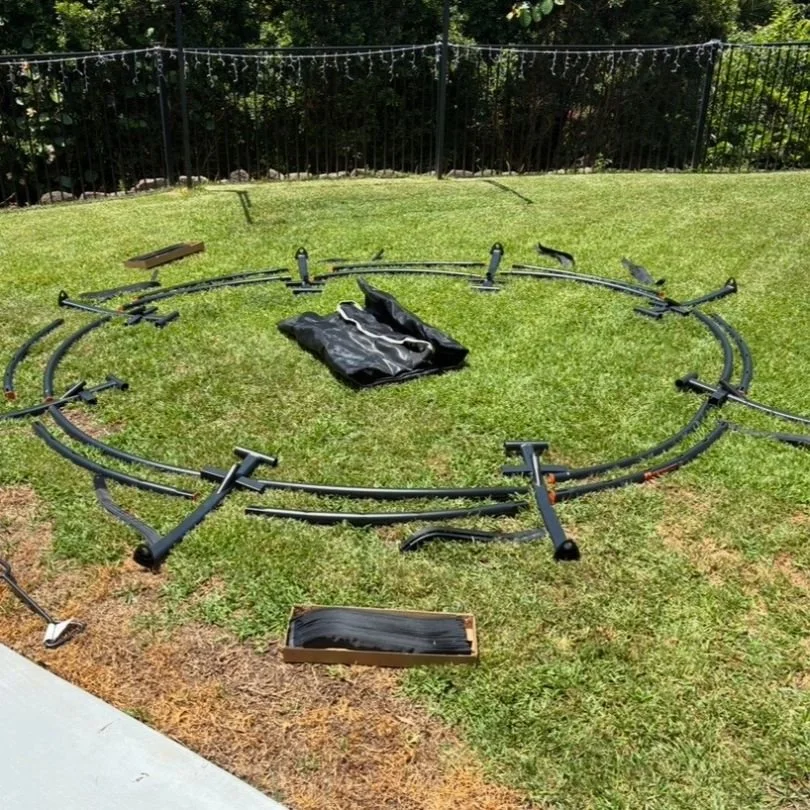
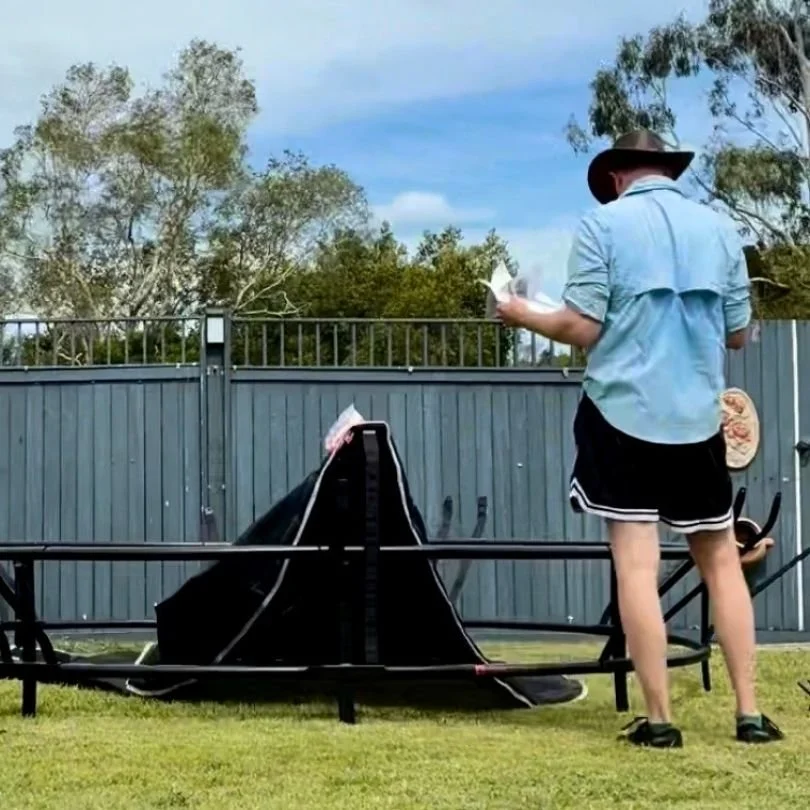
While unpacking the boxes, I like to arrange the frame sections and legs into roughly the shape and area they will occupy when the trampoline is assembled (see other pic).
When all the boxes are unpacked and set to the side, and the frame pieces are all lying in a nice circle that somewhat resembles a trampoline, you’ll feel like you’ve already accomplished something, and you can say, under your breath, ‘Thanks, Rob.’
I’ve now made a video that shows exactly how I unbox all the parts and waste from this and any other model of Vuly trampoline – I recommend checking it out!
Tip #3: Follow the instructions!
The most obvious tip, but still important to mention: Follow the instructions!
Even if you’ve put a trampoline together before, back in 1998, please don’t assume you’ll naturally know where and how everything goes together.
Some parts can be put on the wrong way and it won’t be obvious until later (when you’re standing back to admire your perfect handywork; or when you go to put the leaf springs on and they just don’t fit).
I’ve seen and heard horror stories of people who have put together this and other models, only to find they’ve missed out entire sections, and have to spend an extra hour taking it apart and putting it back together correctly.
When it comes to the Thunder 2 and Thunder 2 Pro, this is even more important, because if you mess up the installation order of the leaf springs, or forget to put in the top frame parts, it’s going to be a lot harder – or simply impossible – to complete the trampoline (and, again, will need to be redone).
One caveat: the next tip!
Tip #4: Deviate from the instructions!
This tip is a little technical, so bear with me and hopefully I can explain it properly!
This is about the order in which the leaf springs are attached to the mat.
The instructions tell you to get both leg springs attached for all legs before moving onto the other springs (ensuring you are moving from one side of the trampoline to the other).
BUT, I find that putting both springs on the legs, all the way around, makes it much harder to attach the springs in the remaining gaps between the legs.
In my pseudoscientific opinion, it’s because the tension in the mat becomes unevenly distributed, so it becomes extra tight in those gaps.
My recommendation: attach ONE leaf spring for all the legs (the one on the RHS of the leg – 1 in the GIF), as per instructions.
But for the next set (after laying out and hooking on the safety net), attach the leaf springs in the middle of the gap between the already attached 1 springs (2 in the GIF). Depending on the size of your trampoline, there might not be a spring that’s directly in the middle of the 1 springs, but close to the middle is fine.
And then keep putting springs on in the biggest gaps (again, ensuring you’re swapping to the opposite side of the trampoline each time). It will start to become easier as you get down to last springs.
In my experience, this technique better distributes the tension of the mat. It will still be a challenge, and still require two people, especially on those earlier sets of springs, but it will be much more possible!
Tip #5: Go smooth
This last tip may sound a little odd, because, on the surface, it sounds like it will drastically slow down the whole process: I want you to keep double-checking and readjusting everything as you go.
This will, hopefully, prevent you from having to redo any of the steps, which speeds the whole thing up more than any ‘rushing’ has ever accomplished. (My mantra when assembling a trampoline, or doing anything, really, is not ‘Go fast!’, it’s ‘Go smooth. Go smooth. Go smooth.’)
In practical terms, for your Thunder 2 or Thunder 2 Pro, this means a few things:
Double-check the positions and orientations of parts before you go through all the effort of attaching or clicking anything into place (e.g., ensuring the drain holes of the top curved frame parts are facing down; making sure there are no twists in the top of the safety net before putting the vertical poles into the legs).
Never force any part into another. If a frame piece or pin or connection feels like it needs to be bashed or shoved or hammered together, it most likely means it’s at a funny angle and might just need to be lifted/turned/readjusted so that it fits the way it was designed.
Check and make sure the frame is a circle after you’ve put those pieces together. I literally measure the internal distance of the circle at different points to make sure it’s the same distance (or close enough) all the way around (and give it a nudge if it’s not).
As you attach the leaf springs, they will pull other leaf springs off-centre (due to the mat pulling them over). As you’re moving around the trampoline to install the springs, keep pulling or pushing the already attached springs back to their centre; otherwise, later, they will become too tight to shift sideways. This will also make it easier (possible) to attach all the springs!
Good luck!
If you’ve read all that and can still want to assemble your Thunder 2 or Thunder 2 Pro, I believe in you!
If not, and you live in Brisbane, Australia, please get in touch with me and I’ll come and give you a hand!
I can also assemble any other model of Vuly trampoline on (or off) the market; and I can relocate them if you’re moving house, have bought a secondhand one off Marketplace, or need to get rid of an old one!

AI-FREE GUARANTEE: Apart from assembling trampolines, my biggest passion is writing. It’s something I’ve been doing since I could grip a pencil, and something I’ll continue until I’m rewriting old manuscripts on my deathbed.
That said, I proudly pronounce that AI (ChatGPT and the likes) was not used to create any part of this article.
I used my good ol’ human noggin to brainstorm article ideas and content (usually while assembling a trampoline or driving to my next job), then spent days researching, writing, rewriting, editing, rewriting again, and then perfecting what you’ve just read/skimmed.
I’m a firm believer that using AI in the place of the supercomputers on our necks steals from our ability to think critically, to have patience to come up with original ideas, and to connect with the written word – either through reading or writing. It’s simply recycling and repackaging sentences that were already written, and sticking it together in mindless, soulless ways that look like writing, and using a tonne of resources to do so.
I’ll play no part in that.
Cheers,
Rob
Psst… If you haven’t yet purchased your VULY trampoline, chuck BRISSIETRAMPS into the promo code box at checkout for an extra discount (on the VULY website)!
